"I wish to travel more often."
Most of us say it at least once every year. However, wishing to travel and actually purchasing a ticket are two very different things. Usually, the gap isn't desired. It's clear thinking. We look at pictures of Santorini, Kyoto, or fall in New York, but we never make plans, budgets, or dates out of those thoughts.
That’s where a travel vision board becomes more than just a collage. When executed properly, it serves as a link between motivation and action.
What a Travel Vision Board Really Is
A travel vision board is a targeted list of places, activities, and objectives that you truly want to give top priority. It may be digital or tangible. Decoration is not the point. Direction is the key.
This is effective psychologically because visual clarity triggers a reaction in the brain. A place, a kind of journey, or a timeline stops being abstract when you see it repeatedly. It starts becoming real. You start making choices based on it.
Your thoughts change from "someday in Italy" to "late September in Rome, with three museum days and one cooking class." Planning naturally follows from that level of detail. Transitioning from hazy inspiration to well-defined intention is crucial.
Step 1: Get Specific About the Kind of Travel You Want
Take a moment to ask yourself some honest questions before you open Canva or Pinterest.
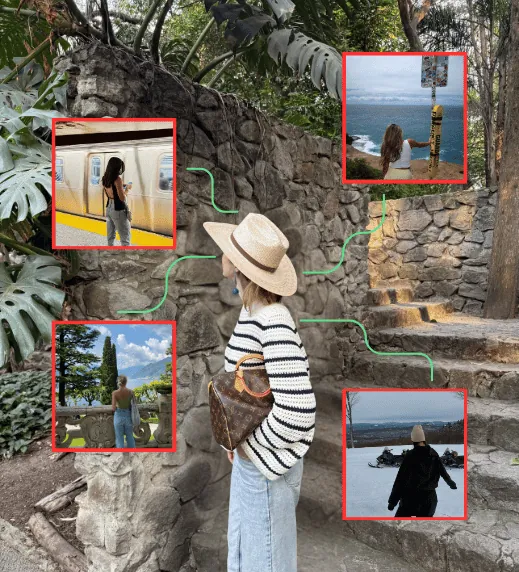
Which would you prefer: adventure or rest? Nature or the city? Is it a group experience, a romantic retreat, or a solo trip? Are you daydreaming about a quick weekend getaway or a lengthy trip abroad?
In the next year or two, list three to five different kinds of trips that you really want to take. By doing this, you prevent your board from becoming disorganized.
At this point, having clarity stops you from pinning stunning locations that don't truly fit your schedule, budget, or way of life.
Step 2: Choose Your Format
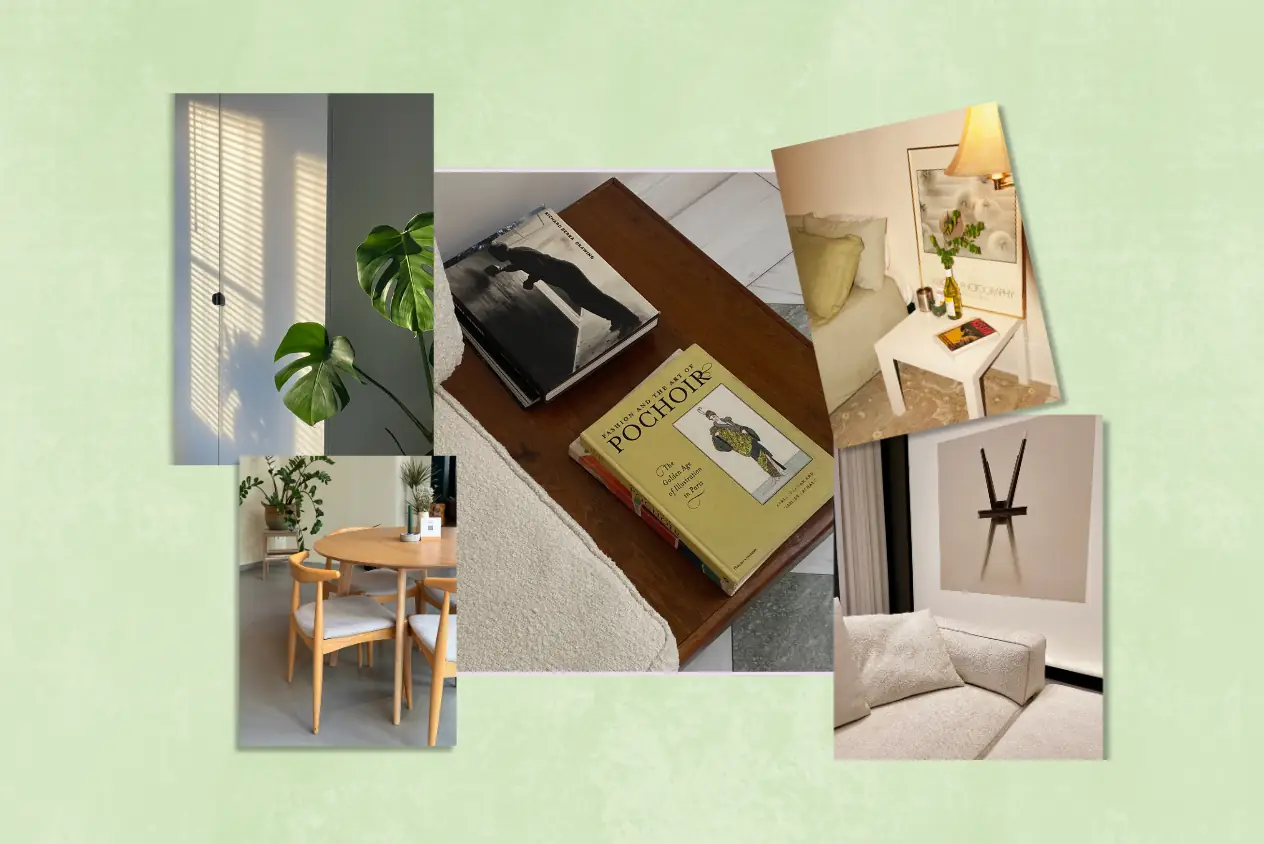
Your travel vision board can be created digitally or on paper.
Use a poster board or cork board for a physical board. Print pictures, maps, screenshots of flights, and even sample itineraries. Put sticky notes with suggested spending limits or the best times of year to visit.
Keep it out of a drawer and in a visible location.
Pinterest is a fantastic resource for gathering ideas for digital options. Make distinct boards for every location. If you want a simple, well-designed layout for your desktop background, Canva is a good choice. If you want a more organized system with pictures next to timelines, budgets, and checklists, Notion is perfect.
The option that you will truly examine on a regular basis is the best one.
Step 3: Add Visuals With Purpose
You can now begin collecting pictures. However, be mindful.
Instead of pinning fifty haphazard images of Bali, focus on only a few. Select images that reflect the experience you wish to have. a particular beach. A cafe that you have studied. A path for hiking. A community.
Give your images some context. Write the following below each destination:
- Ideal month or season
- Estimated trip length
- Rough budget range
- Who you’d go with
This simple structure shifts your board from dreamy to doable.
Step 4: Map the Experience, Not Just the Place
Focusing solely on destinations is a common mistake. Experience mapping is a more successful strategy.
Would you like to witness the Northern Lights? Enroll in a pasta-making course in Florence. Go to a music festival? Spend a month working remotely from a mountain town?
Clearly include those experiences on your board. This fosters both practical guidance and emotional connection. Planning around experiences is simpler than hazy location concepts.
As soon as you have a clear idea of what you want to accomplish you inevitably begin looking into how to do it.
Step 5: Attach a Timeline
Dream trips often stay dreams because they have no timeline.
Assign a realistic window to each experience or destination. For instance:
- Spring next year
- Within 12 months
- Before turning 35
- After finishing a major work project
Timelines instill a healthy sense of urgency. They assist you in setting priorities for your savings and vacation time.
Having a placeholder helps the trip feel grounded in reality even if the date changes later.
Step 6: Turn Inspiration Into a Savings Plan
This is where your travel vision board becomes powerful.
Once you’ve estimated rough budgets, create a simple savings plan. Divide the estimated cost by the number of months until your target travel date.
If a trip costs $2,400 and you have 12 months, that’s $200 per month. Suddenly, it feels manageable.
You can open a dedicated travel savings account. Label it by destination. Seeing the name reinforces the visual clarity you created on your board.
This step transforms “I wish” into “I’m preparing.”
Step 7: Take One Concrete Action Per Trip
Every trip on your board should have at least one active step attached to it.
Examples include:
- Set up flight price alerts
- Research visa requirements
- Draft a rough itinerary
- Save three hotels in a comparison list
- Check peak and off-peak seasons
- Block potential travel dates on your calendar
These small actions create momentum. Momentum builds confidence. Confidence leads to booking.
The goal is progress, not perfection.
Step 8: Review and Refine Quarterly
Your travel vision board is only temporary. Every few months, review it.
Eliminate places that don't excite you anymore. Include new ones that fit your priorities right now. If your situation changes, modify the timelines.
This prevents your board from becoming a forgotten artistic endeavor and keeps it in line with your actual life.
Why This Actually Works
A travel vision board is effective because it blends organized planning with visual inspiration. It combines creativity with practicality.
Your choices begin to support those objectives when you see your selected destinations on a regular basis and combine them with budgets, schedules, and action items. Remembering that you're saving for Japan may cause you to give up an impulsive buy. Since you've already mapped out a rough window, you can request time off earlier.
It has nothing to do with manifestation. It has to do with alignment.
This is frequently what separates wanting to travel from actually doing so: specificity plus action.
Your travel vision board stops being just a collage if you construct it with specific goals, attainable figures, and next steps included. It turns into an ongoing plan.
READ MORE: Smart Travel Products You’ll Be Glad You Brought With You